Pinger User Guide
Pinger is a powerful desktop application designed to automate message forwarding across Discord channels with advanced filtering, role customization, and seamless bot integration


Pinger is a powerful desktop application designed to automate message forwarding across Discord channels with advanced filtering, role customization, and seamless bot integration.
Features
v1.0.0
- Instant Alerts – Get real-time Discord notifications.
- Keyword Filtering – Whitelist or blacklist specific keywords.
- Reliable & Fast – Never miss an important update.
- Multi-Account Support – Monitor multiple servers easily.
- Custom Branding – Get a version with your theme and logo.
v2.1.0
- Event Scheduling - Create scheduled events to trigger messages via webhook.
v2.2.0
- Tagged Role Replacement - Dynamically replace tagged roles in outgoing messages.
v2.3.0
- Role-Based Monitoring - Only monitor messages from users with specific roles.
- Ignore Bot Messages - Exclude bot-generated messages from monitoring.
Software requirement
- Windows 10 or later (64-bit)
- 2.0 GHz Intel Core i5 processor or higher
- 8 GB RAM or more
- 2 GB available hard disk space for installation
- Internet connection for software activation and updates
- A Discord account for accessing the software's features
Installation and setup instructions
- Download the Pinger installation file from the official website.
- Open the downloaded file and follow the on-screen instructions to install the app on your desktop.
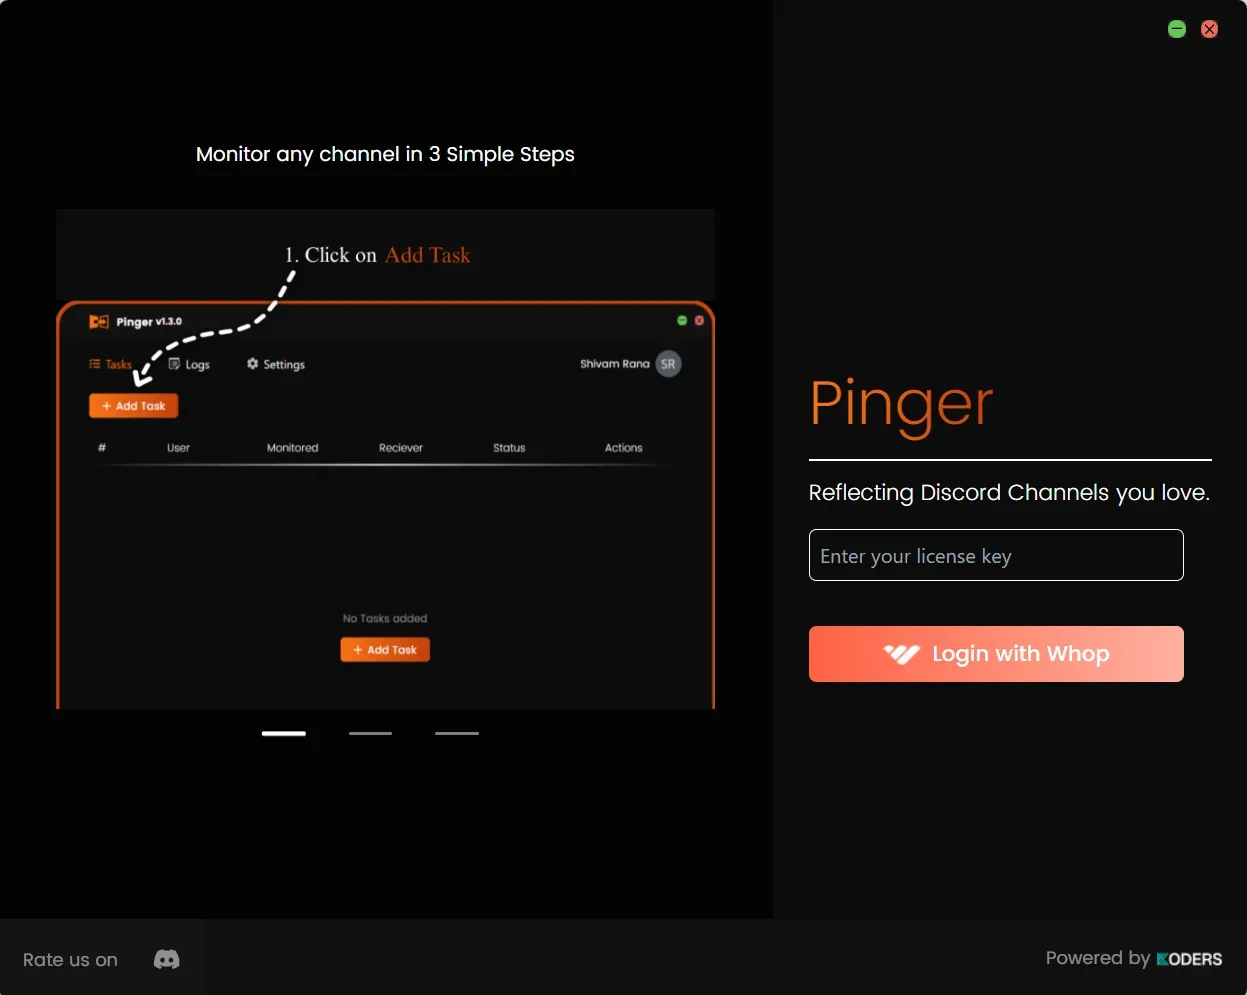
- Once installed, open the app and log in with Whop license key.
- Create a discord bot from the discord developer portal (Process is given below).
- Add that bot to the monitored server and in the receiver server.
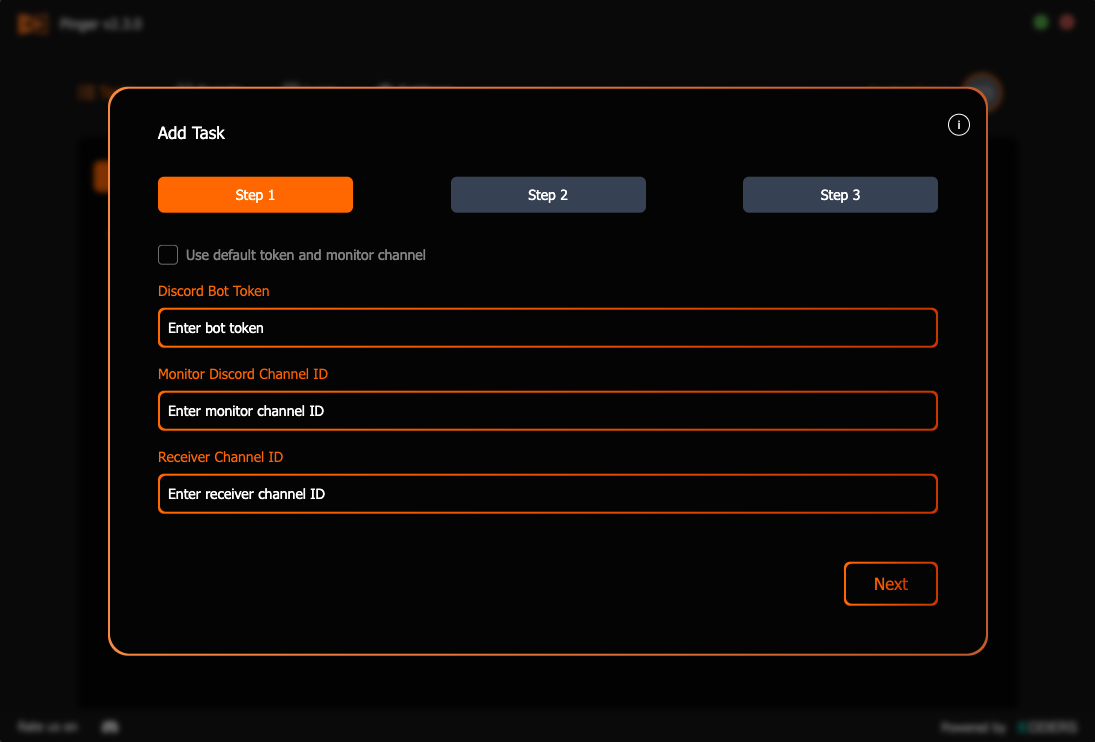
- Now, you can add new monitoring task from the Pinger app.
Interface
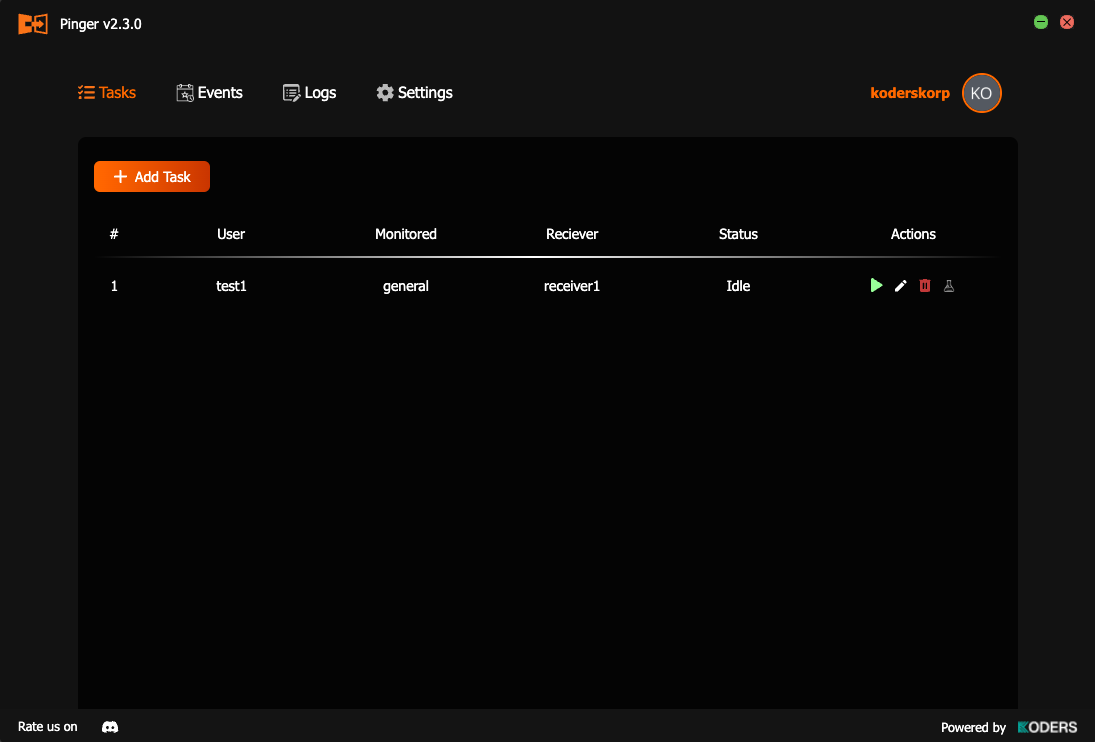
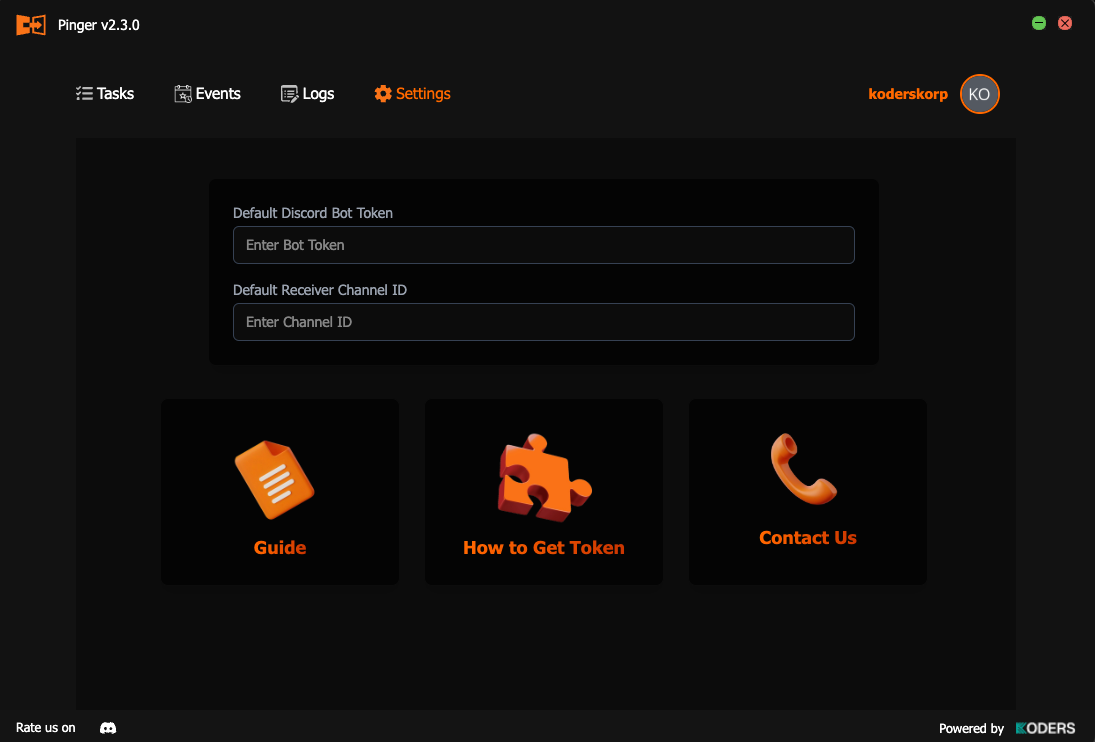
User Interface of Pinger
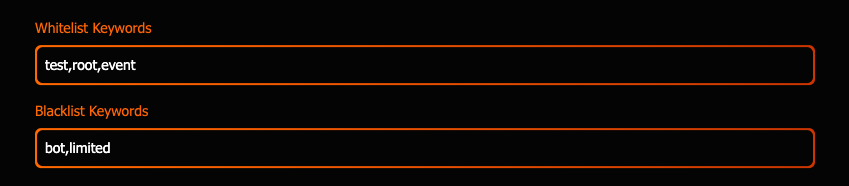
Blacklist and Whitelist keywords
- You can blacklist specific words, preventing the app from forwarding any messages containing those words from the monitored channel.
- You can also whitelist certain words, allowing the app to forward only messages that include these words from the monitored channel.
- To forward all messages from a monitored channel, simply refrain from adding any whitelisted words. This will ensure that all messages are forwarded, except those containing blacklisted words
- If a word appears on both the whitelist and blacklist, the blacklist takes precedence, and the message will not be forwarded.**
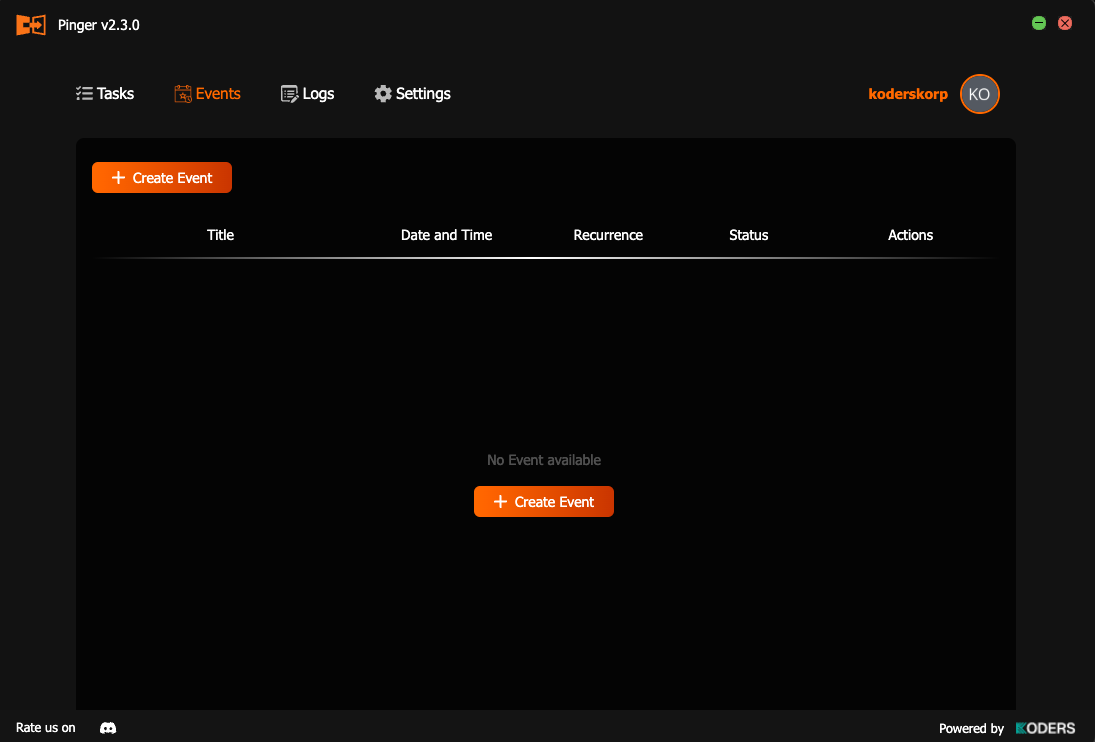
Event Scheduling
Allows users to create events with a custom title.
- Date & Time Selection – Users can schedule exactly when the event should trigger.
- Discord Webhook Integration – Notifications are sent to the provided Discord webhook URL.
- Recurrence Options – Supports One Time, Daily, Weekly, and Monthly recurring events.
- Automated Messaging – Sends a message automatically at the scheduled time without manual input.
Tagged Role Replacement
Enables role substitution within messages.
-
From Role / To Role Configuration – During task creation, users can specify a "from role" and a "to role."
-
Dynamic Role Swapping – If the "from role" is detected in a message, it will automatically be replaced with the specified "to role."
-
Helps in Personalization – Useful for customizing mentions based on server needs or user roles.

Role-Based Monitoring and Ignore Bot Messages
Filters messages based on the author’s role.
- Target Specific Roles – Only monitors messages from users with the specified role.
- Reduces Noise – Ignores irrelevant messages from other users.
- Useful for Moderation or Team Alerts – Focus on updates from certain roles like admins, mods, or support.
- Ignore Bot Messages – Option to tick a checkbox and ignore all messages sent by bots.

How-to guides
How to get Discord Bot Token
💡 A Discord bot token is a combination of letters and numbers which is like a special key that lets a bot connect to Discord and work in a server. It's keyfeatures are:
- Every bot has its own token.
- It’s a unique code that the bot uses to log in, just like how you use a password to log into your account.
- It should never be shared with anyone, as if someone else gets the token, they can control the bot.
- You can reset the bot token if you forget it or if it gets compromised. Resetting the token will render the old token useless.
For getting one either you can follow this link
——————————————————OR——————————————————
-
Open the Discord Developer Portal on your browser.

- The first step is to open Discord Developer Portal in your web browser: Chrome, Firefox, Safari, Edge, Brave...
- Do not open the Discord application for Windows or Mac. (Use Browser)
- Your first step is to browse over to the Discord Developer Portal: https://discordapp.com/developers/applications/
- This portal shows all of your applications and bots.
-
If you already have a bot created, click it in the list. If you don’t have any discord bots, click the “New Application” button.

-
Give Your Bot a Name

- Here you’ll be prompted to give your application (bot) a name. Enter the name of the bot.
- Accept the “Terms of services” by selecting the check box.
- Click on “Create” button.
-
Bring Your Bot to Life With an Icon and Description (Optional)

Awesome! You’ve created your Discord Application! The only thing left is to bring your bot to life by giving it a description and an icon…**
-
Now give your bot some permissions to make it able to work.
Now select the bot option from the left menu.
-
Scroll down to “Privileged Gateway Intents” and toggle on the “Message Content Intent” permission.

Toggle this permission on. It will be toggled off by default.
-
Now scroll up to the “Token” section and click on “reset”.

- It will show a prompt “Your bot will stop working until you update the token in your bot's code.”. Select “Yes, do it!”.
- It will prompt to enter your discord password. Enter password and click submit.
- Now you will get your Discord bot token. Copy it and keep it safe with you.

How to add Discord Bot To Your Server
-
Open the Discord Developer Portal on your browser

- The first step is to open Discord Developer Portal in your web browser: Chrome, Firefox, Safari, Edge, Brave...
- Your first step is to browse over to the Discord Developer Portal: https://discordapp.com/developers/applications/
- This portal shows all of your applications and bots.
- Select the application or bot you want to add to the server from the list.**
-
Now navigate to installation option from the left menu

-
Scroll to the bottom of the page

- In Guild Install, select the drop down button.
- Select the “bot” option, and click on save changes.
-
Now scroll to the top and copy the install link

- Follow the install link and add it to your monitored and receiver servers.
How to get Discord Channel ID
You can follow this link
——————————————————OR——————————————————
-
Switch on Discord Developer Mode

Open Discord, and click on the Settings

Navigate to Advanced Settings.

Enable Discord Developer mode
-
Navigate to the Channel and Copy ID

Navigate to the Server

Locate the Channel and Copy ID
Frequently asked questions (FAQs)
My Pinger app isn't working properly. What can I do?
If you're experiencing issues with the Pinger app, try restarting the app or your computer. If that doesn't work, try uninstalling and reinstalling the app. If you're still encountering issues, contact Pinger support for further assistance.
How do I monitor a Discord server or channel in Pinger
To monitor a Discord server or channel in Pinger, click on the "Add Server/Channel" button and enter the server or channel's ID. You can find the ID by following the instructions in the "How to get Discord Channel ID" section of this user guide.
How do I get my Discord bot token?
To get your Discord bot token, follow the instructions in the "How to get Discord Bot Token" section of this user guide.
I'm having trouble logging in to Pinger. What can I do?
If you're having trouble logging in to Pinger, make sure you're using the correct login method or you have the required permissions. If you're still encountering issues, contact Pinger support for further assistance.
How do I contact Pinger support?
Contact Pinger support via email, or open a ticket on our Discord server from the 'Contact' section in the User Guide.
Contact Us
- Email: [email protected] (available 24/7)
- Server Link: https://discord.gg/fYk4xqUKbf